Thursday 1 October 2015

Basket weave Newsboy hat


While seasons are changing, clothing will follow. The weather is still beautifull but at night temperatures go down to 2c.
My daughter started complaining about having cold ears while cycling in the morning.
Aha! A perfect reason to crochet a new winter hat, matching her new winter coat.


The pattern of this cute newsboy hat is designed by Ana Benson, it is a free pattern, you will find the pattern OVER HERE
The pattern comes in several sizes, from baby up to adult. I created the one for "child" 4 - 10 years.

I have to admit..... I pulled out my crochet work about 3 times.... and I just couldn't get the weave tocome out right. And since I had to make my daugther a hat, I decided not to be so fussy and accept a slightly different cable.

I kept reapeating row 11 from the pattern and it makes the weave reapeat itself instead of going over and under. Better luck next time ;)


Can't say I don't like the result though.
The yarn I used is from my own store www.haaksels.yarnshopping.com
I used a special hat-yarn from last years season. But you could use any yarn you like of course.
By using a yarn that changes its structure, you add a funky touch to the hat.

Have fun creating your own!

Saturday 5 September 2015

Wheat stitch comfy blanket

Although winter still seems far, far away.... we all know we need to start early on our comfy blankets.


I won't say this is just an easy pattern you do in a jiffy.... while watching TV or going on a journey.
I won't say this blanket will be quick and simple.... because it took me 3 months to finish this project.
But I will  say it is a handsome looking blanket, it has got attitude and some form of roughness over it.


I like colours... but I had to make this one matching my new couch.... so I used colours which would match it perfectly. And really.... preparing your colours is half the fun of the project.


Like I said... this blanket took me 3 months.
Now I have been busy lately... apart from my crochet work, Therefor it might take you less time than me.

The pattern is for free! You can find it over HERE

You can use one colour.... fancy colours, simple colours.... mix-and-match......
And if you make a blanket yourself.
Don't hesitate to send me a pic.


M.

Saturday 29 August 2015

Fairy tale bed spread

Hello everyone,

Right now I am at 80% of my current project. And it is really pretty and worth it.......but it takes me a loooooong time to finish it. I am avoiding my urge to start a small project in between. 
The risk might be there that I am putting this project down and not pick it up.
It is almost done, just a few more rows and border.

But!
Yesterday I received an email from Naomi. A lovely email with some pictures attached of a seriously pretty bed spread she made, using my fairy tale cowl pattern.


I just had to share this very nice picture with you. Perhaps it wil get you inspired for another use of the Fairy Tale pattern.


Naomi used my pattern and added a scallop edging.
At this page you can find all kinds of free scallop edging patterns.

The yarn she used is Stylecraft special DK. I use that yarn myself for blankets and colourfull softies

It isn't too expensive and will put a smile on your face while using it.
It is a good quality 100% acrylic yarn.


Would you like to try the pattern yourself?


The Fairy Tale Pattern can be found by clicking on THIS link.


Sunday 24 May 2015

Facial pads

Amongst a few other things I like in life, I love to give away hand-made crochet items.


When I think of hand-made crochet presents, what first pops into my mind are:
Shawls, blankets, hats, poncho's and all the aother sorts of items which have some kind of crochet-air around them.


Now I love to give make up or wellness articles as presents.
That particular expensive which you don't buy yourself because it is nonsense to buy them that expensive ;)
But just those things... that expensive handcreme, that nice facial wash or that lovely scented body creme.... those make great presents.


To add your own touch to the product, how about adding handmade facial pads! You can create them in any colour you like. Maybe to match the product you are giving or to match the tiles of the bathroom they will go into.

I used several shades of blue and grey... they work up  really quick and you can make as many as you like.


I would advise you to use a thick cotton, this is nicest for your skin.

And of course they look very pretty indeed in you own bathroom as well!

This free pattern is made by Thestitchinmommy.

Have some  refreshing fun with them.

Thursday 14 May 2015

A new star is born

Spring, summer.... seasons which make you feel happy! In love.... and there you have it! Babies.
And yay... my sister is expecting her 3rd child. A lovely boy.
So of course I am making her a baby blanket.


First of all, sorry for keeping you waiting so long for new inspiration... I have got so many crochet projects waiting to be photographed.... I just cannot find the time to put myself to it.
So today, as the sun was shining, I decided to photograph this blanket so I can finally present a new pattern.


You can make this pattern with any colours you like. By adding more or less rows with one colour you will give the blanket your own, personal touch.

I decided to use two colours and change from 3 rows with one and 2 rows with the other.

The star shape will be extra visible if you use several contrasting colours.


The pattern is easy, so you can do several things while you crochet this blanket. And by adding more rows you can make it as large as you like.


Makes a different baby blanket don't you think? Have fun creating you own!
You can find the pattern to the blanket over HERE


Monday 6 April 2015

Little Princess Poncho


A second poncho already! I know I know.... but I just had this yarn laying around for so long... screaming at me to make a poncho out of it.

This time I finished 3 rows and then changed to another colour.
I used a polyester / cotton mix. 
Cotton is not my favorite yarn to crochet with since it tends to split while I work with it. 
But it does give a very clean look to your work.


My daugther is into living the life of a princess right now, so I decided to add some diamonds to the design, as every Little Princess should have some bling-bling.


I used the beads during my crochet work.
Just add the needed amount of beads on to your yarn before you start your crochet round where you want to place them.
Be sure to place enough beads onto your yarn, in case you're not sure, place extra so you don't run short. (else you'll have to finish off and attach new yarn with beads along the way)


Slide your beads back a bit and attach yarn as usual. Crochet untill you reach the spot where you want to place your bead, slide the bead towards your knot and place your next stitch behind / after your bead. I worked a round of slip stitches at the back side of my work and added the beads in the stitch at the front. (this sounds harder than it is)

Here's a video, DROPS made about the technique of placing beads in your work.


I hope I gave you a bit of new inspiration for a nice project.
You can read all about the pattern in this blogpost on www.haaksels.nl

Have fun!

Saturday 4 April 2015

Romantic Poncho


I think this is a great piece of garment to add to your spring wardrobe.
Airy but yet adding a bit of warmth when you need it.


You can turn it into any style by selecting the yarn that fits your mood.
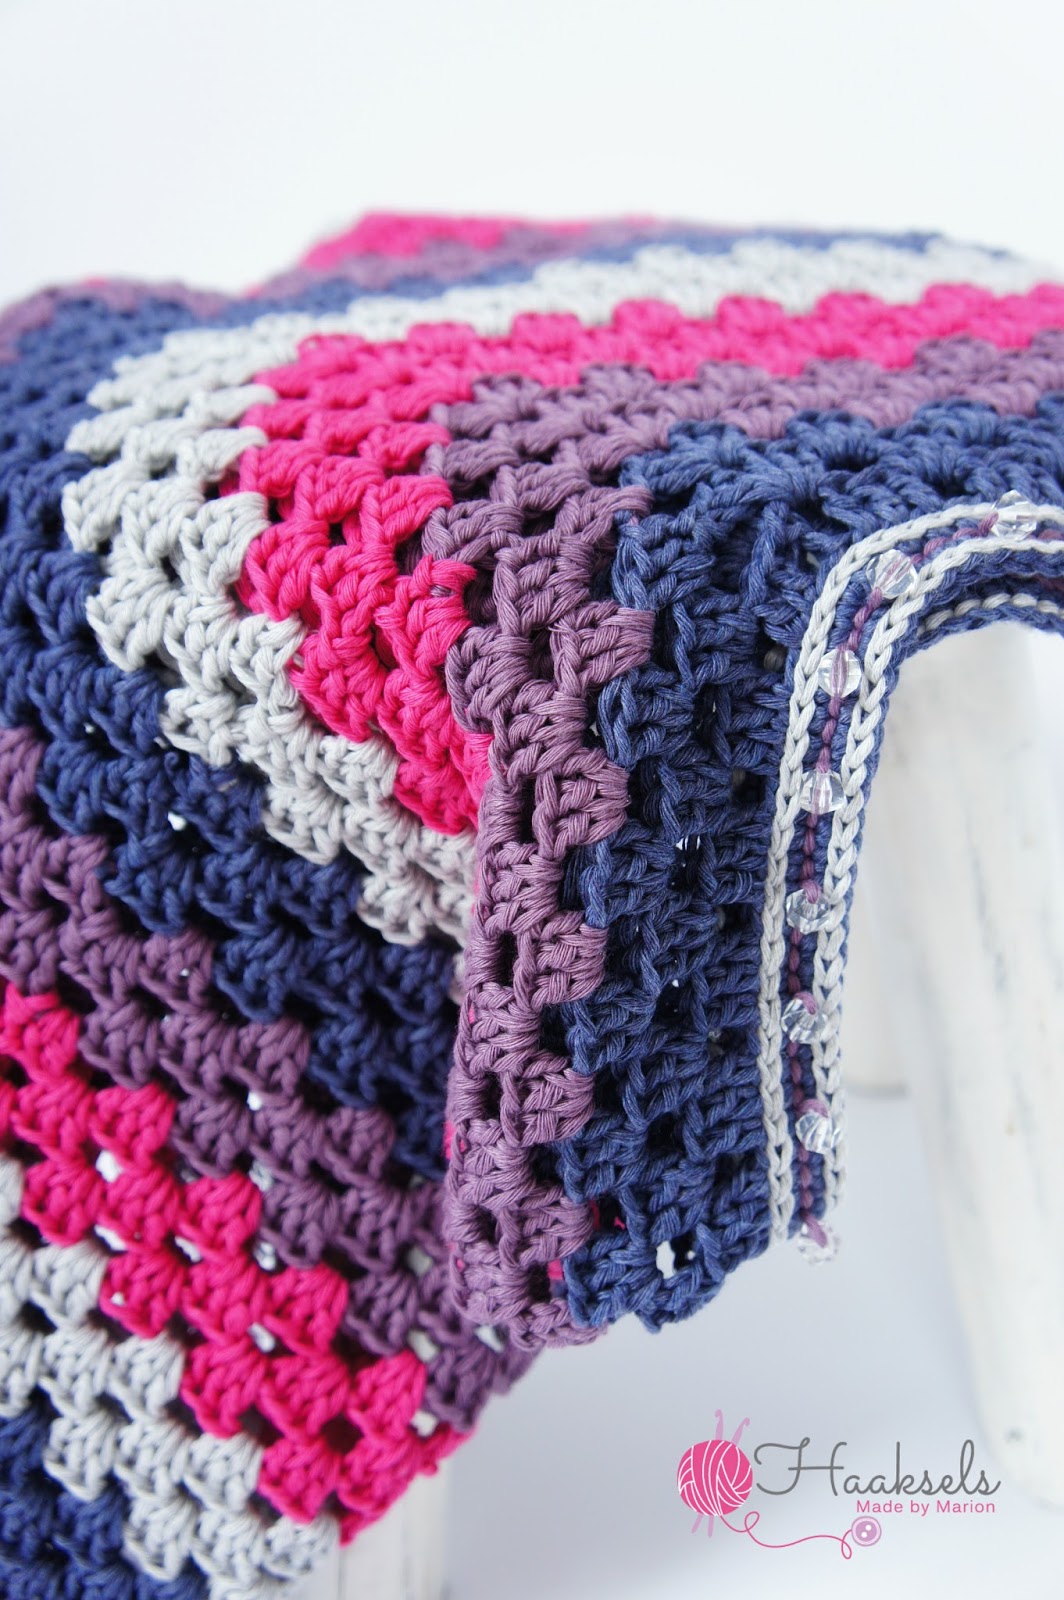
For this piece I used a yarn with a sparkle, 
It is really subtle but reflects when sunbeams hit the poncho.


The poncho works up really quick. It took me 3 evenings.
And since it is so easy to crochet... you can easily watch a movie while you work on it.

The pattern for this poncho is free and can be found over here

Make sure your starting chain is a multiple of 8! 

Since I received some requests for writing the instructions down, instead of the schematic, here it is: 

The exact translation of the schematic:
I use US crochet terms!

Stitches used:
CH : Chain
DC: Double crochet
Sl St: Slip stitch


1. Crochet your neck by making a chain that exists of a multiple of 8, Sl st to 1st CH


2. CH3, 2DC, CH1, [3DC, CH1] to end, Sl St into 3rd CH of 1st CH3 (of course you can also use a Chainless starting DC to start with instead of the CH3)

Your last chain space will be the increasing space, search for the space on the exact opposite and mark it with a stitch marker.

3. CH3 (or chainless starting DC), 2DC (in last chain space of formar row), CH1, [3DC, CH1] untill you reach the marked CH space, [3DC, CH1, 3DC] in marked CH space, [3DC, CH1] untill you reach the first space you worked in, add [3DC, CH1] to this space and Sl St to 3rd chain of your starting CH3. (or Sl St to your chainless starting DC)

When you look at the schematic (row 3 is the yellow row) The 3 circles are the starting CH3, the stretched crosses are DC's, so it is CH3 plus 2DC in same chain space)

4. Repeat row 3 untill your poncho reaches the desired length.


The additions I made to the schematic are:

1. Start with Chainless DC's, this way the opening for the head will be flexible. (with a stretch)
2. After you finished your last row, add a row of slip stitches on the edge. This way it will get a bit of extra body.
3. To the top, add a row of SC's and then slip stitch over that round, again to add a nice finishing touch and toughness
4. Add tassels


If you don't crochet but would like to have this poncho.
Just contact me.